Solving the 10 most common problems with rubber belt conveyors
Solving the 10 most common problems with rubber belt conveyors.
Conveyor problems often go unnoticed during daily operation simply because their condition isn't systematically monitored. However, even a basic visual inspection can significantly impact the efficiency of the production process — it can either ensure stable operation or lead to downtime and losses.
We offer an overview of 10 common problems that can be identified early on during regular inspections, along with practical tips for their rapid resolution:
1. Damage to belt scrapers, premature wear of belt fasteners, and material carryback.
Causes: The rubber belt covers were not removed (skived) before installing the mechanical belt fasteners. This caused the fasteners to rub heavily on the scraper, wearing them quickly and unevenly.
Solution: Always remove belt covers before installing the mechanical belt fasteners. Use low profile fasteners, skive the rubber belt cover to a level corresponding to the thickness of the fasteners to create a joint as flat as possible, without protruding elements. If the covers are too thin, skive them as far as possible, down to the belt carcase. This approach increases the life of both the fasteners and the scrapers, preventing material carryback and wear.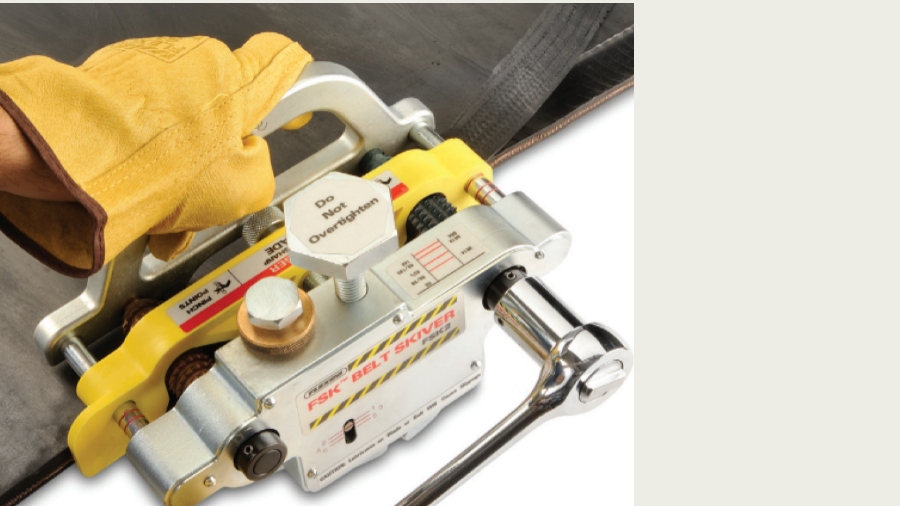
2. Premature belt splice failure, uneven or rapid wear of a rubber covers of a troughed conveyor belt.
Causes: Insufficient transition zone length between the pulley (tail or drive) and the nearest troughing idlers.
Solution: Check the length of the zone where the belt forms the trough. Make sure that the length is at least four times the belt width (in accordance with CEMA recommendations).
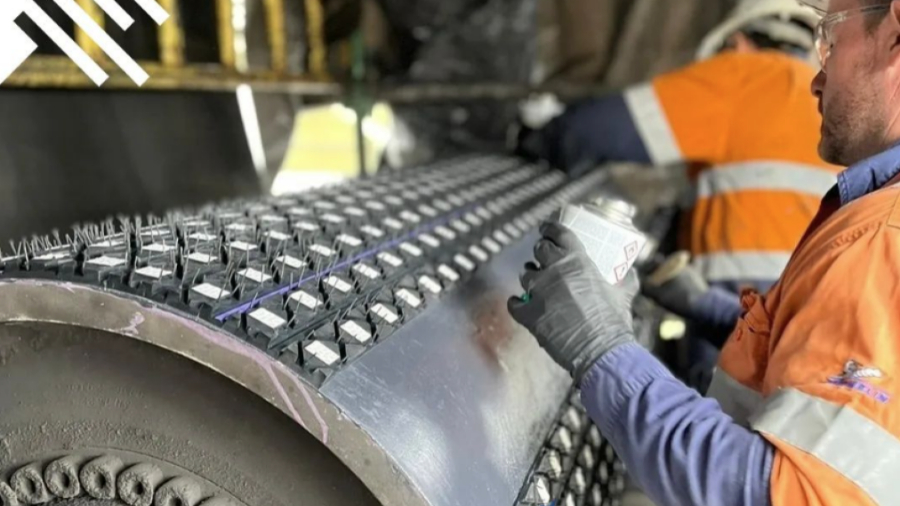
3. Belt cracks directly behind the mechanical splice, premature splice failure.
Causes: Mechanical belt fasteners are too large for the smallest pulley diameter.
Solution: Measure the diameter of the smallest conveyor pulley (the one around which the belt wraps 90° or more) and compare it with the recommendations of the belt and fasteners manufacturers. If the pulley diameter is less than recommended, the fasteners may bend the belt excessively — this leads to cracks and splice failure just behind the fasteners.
4. Belt slippage.
Reason: The belt does not match the diameter of the drive pulley; its lagging is worn out. Or insufficient belt tension.
Solution: First of all, check whether the belt tension meets the required standard (usually, the tension force should be 1/10 of the belt’s tensile strength, as indicated on the belt marking (according to ISO or DIN)). If not, adjust the tension to the nominal value.
Check the belt flexibility to match the pulley diameter. The pulley diameter should match the belt flexibility. The contact surface area where the belt transitions from full tension (on top of pulley) to partial tension (on the bottom) is critical to provide friction between the drive pulley and the belt.
If the pulley is too small or the belt is too stiff, it will not wrap tightly around the pulley, the contact area will be insufficient to provide friction, causing the belt slippage. In this case, replace the belt with a less stiff one.
The problem can also be caused by wear on the drive pulley lagging. In this case, the lagging should be replaced. In wet conditions, where reduced friction between the pulley and the belt leads to slipping, it is recommended to use lagging with ceramic inserts to ensure maximum grip.
5. Conveyor belt mistracking.
Cause 1: The belt splice is made inaccurately.
Solution 1: Re-splice. Using professional tools, accurately mark and cut the belt ends and re-splice them. A neatly cut and spliced belt will move straight without causing problems. Reworking a belt splice is quite expensive, so if you feel unsure of your abilities or do not have the appropriate tools, contact a professional service that specializes in such services.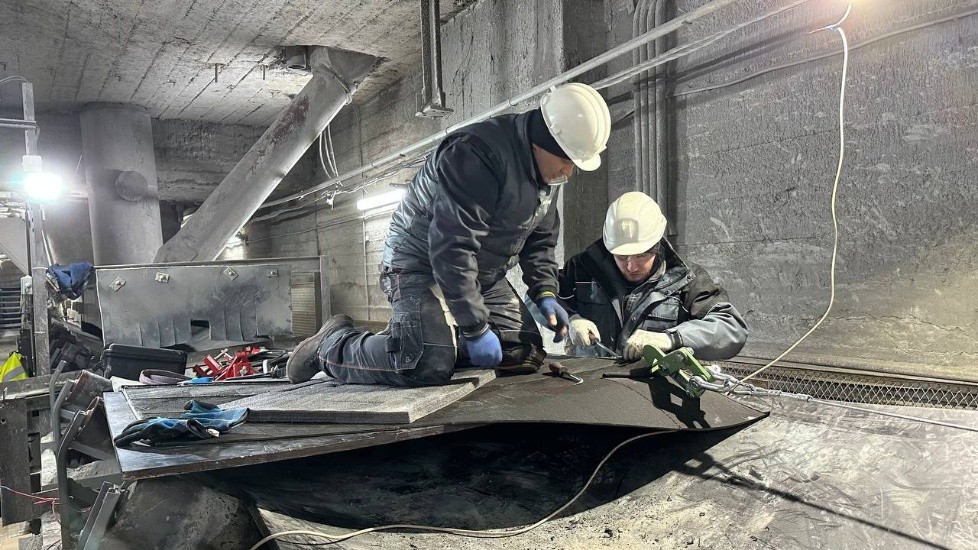
Cause 2: Uneven loading (off-center loading). The center of gravity of the material is significantly shifted away from the centerline of the belt.
Solution 2: Install belt trainers (instead of one or more supporting or/and idle rollers) in mistracking zone.
6. Material spillage in the loading zone.
Cause: Poor conveyor side sealing.
Solution: Check and ensure that the loading zone is sealed with the side sealing system.
Sealing the loading area is important because it closes gaps in the loading area, helps distribute material evenly across the belt, and reduces clogging and dust generation in the loading area. Choose a maintenance-friendly side seal system to reduce maintenance and improve working conditions.
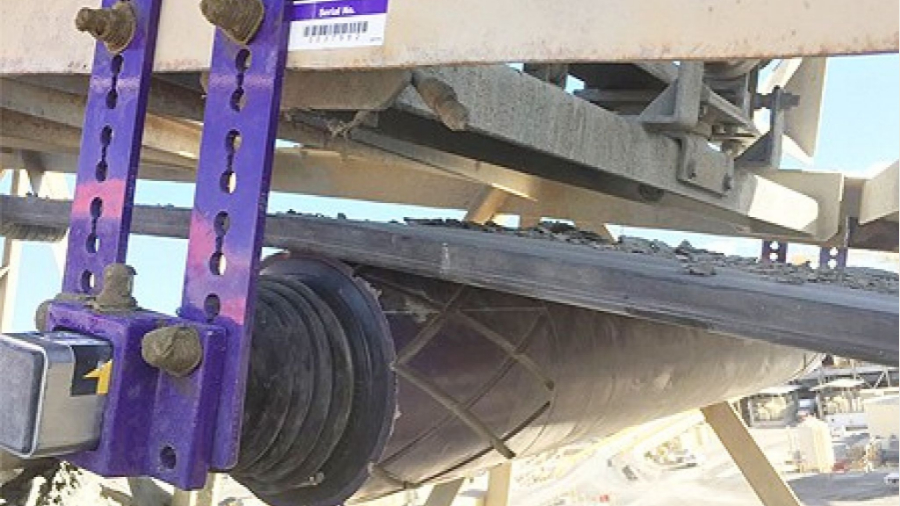
7. Belt damage – small deep cuts, rapid belt wear.
Cause: Belt damage and wear caused by impacts of heavy coarse-grained material in the loading zone.
Solution: Impact protection must be designed to match the maximum lump weight and drop height in order to provide optimal protection for the belt in the loading zone. To absorb impact energy, impact idlers or impact (cushion) beds should be used — preferably in combination.
Another possible solution is the use of a belt with a breaker ply (additional protective ply made of fabric or steel cord).
 8. Belt damage due to metal rollers blocking.
Cause: Rollers blocking, abrasion of the metal roller housing and cutting belt by rollers housing.
Solution: Regularly check the conveyor for non-rotating rollers. They should be replaced immediately, otherwise there is a risk of cutting the belt.
If the roller body is made of a polymer material, this is less critical for the belt, but it is still a problem that leads to increased energy consumption of the conveyor. Therefore, if the roller does not rotate, replace it immediately.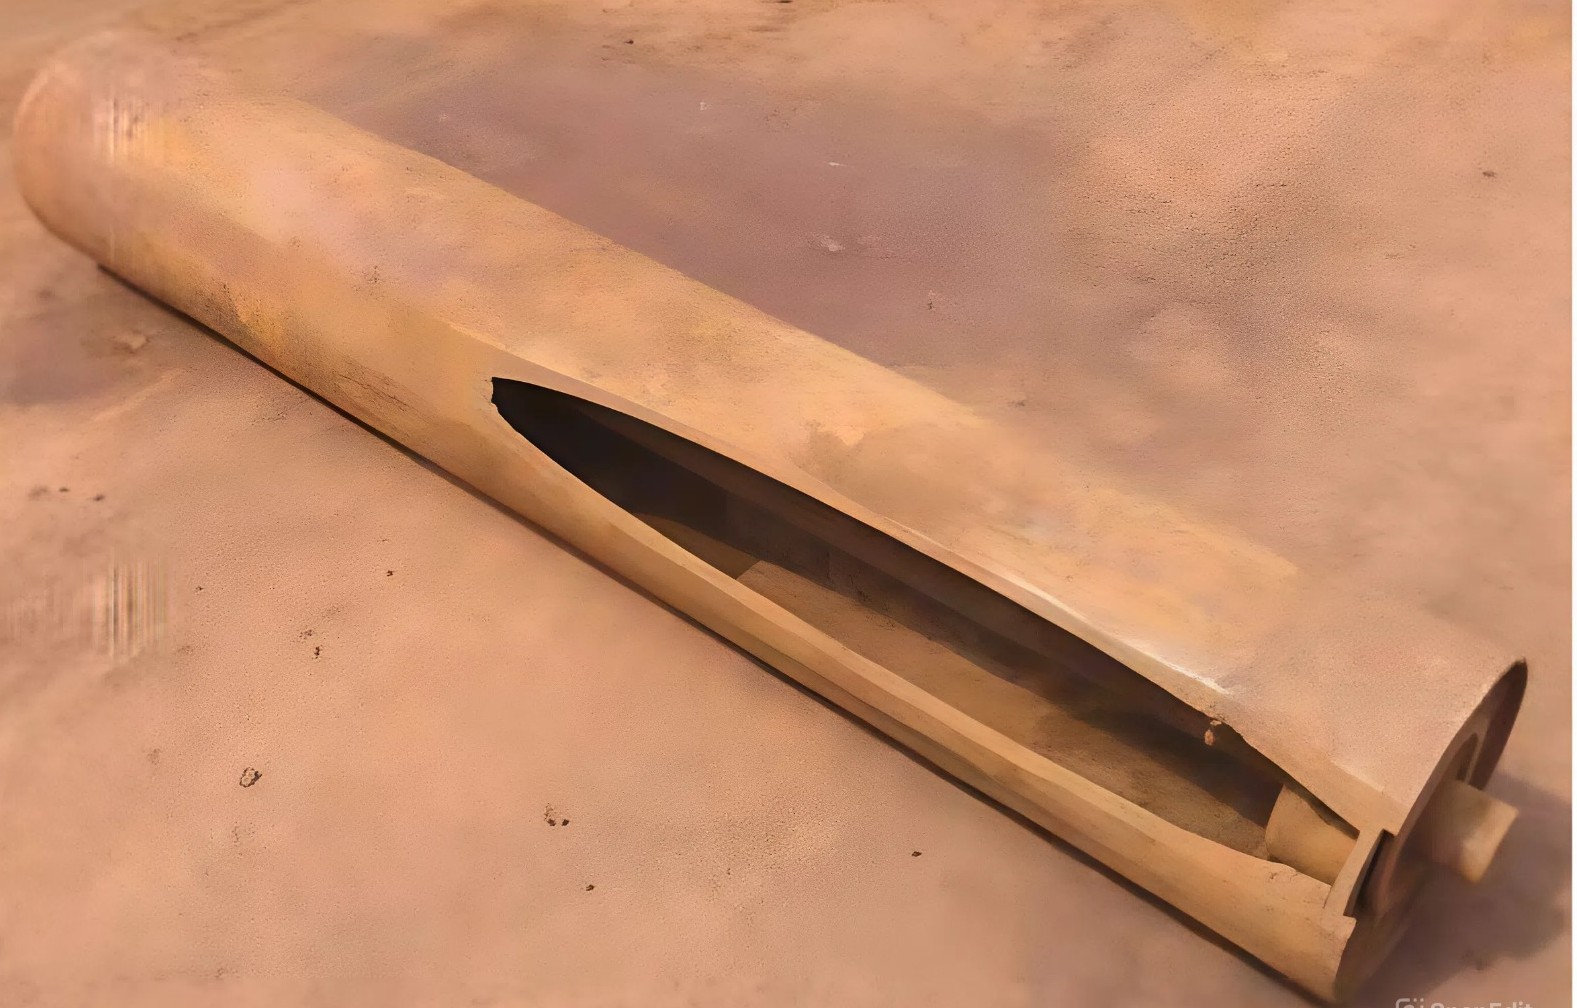 9. The belt cleaner does not work properly even with a new blade.
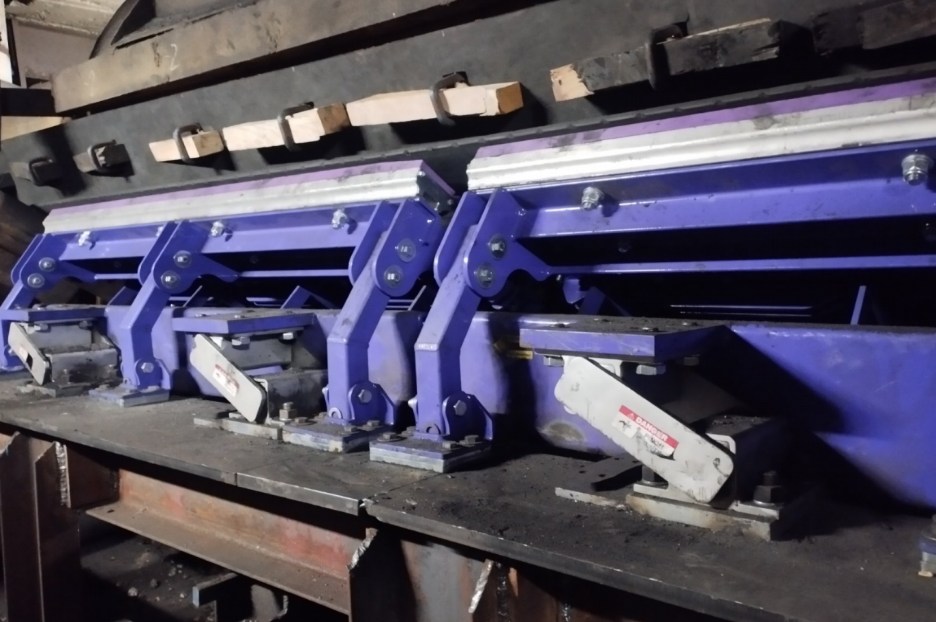
Cause: The cleaner is not installed properly or is not adjusted.
Solution: The location of the cleaner is vital to a successful operation as it allows the correct angle of the blade to the belt, promotes efficient cleaning performance and ensures maximum blade life as the entire wear area of the blade can be utilized.
The force of the blade pressing against the belt is also important, and usually needs to be adjusted periodically. Install and adjust the cleaner in strict accordance with the manufacturer's instructions, or have it installed by a service center authorized by the manufacturer.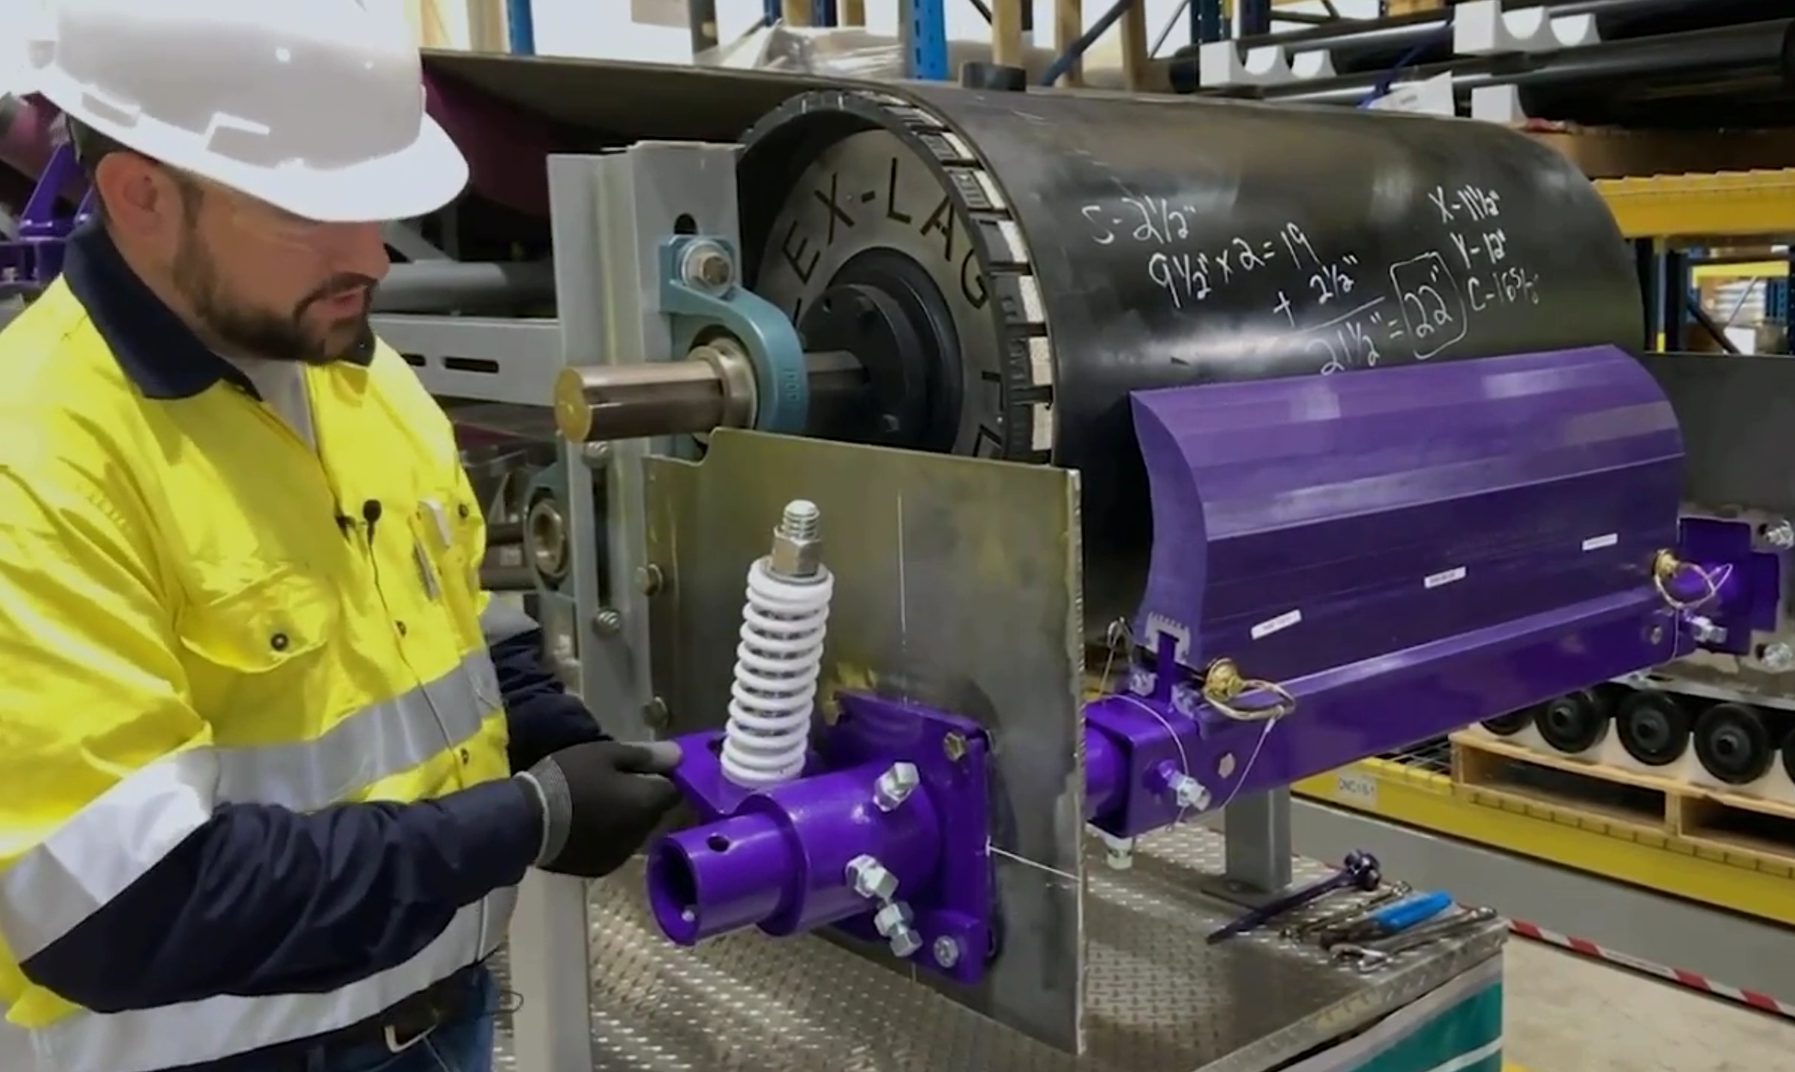 10. Carryback.
Causes: Worn cleaners blade or blade`s pressure not adjusted.
Solution: If the cleaner is installed correctly and the blade is selected correctly, but you notice that the belt is not cleaning effectively, the cause is a worn blade or insufficient blade pressure on the belt.


Comments